Two More Seals
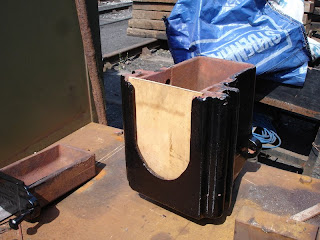
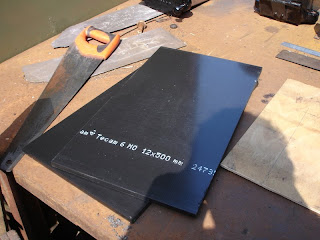
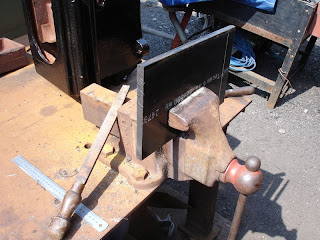
Last Saturday I did use the horizintal mill to finish off the other two seals.

It was quicker, though still not fast, and more accurate. A more satisfying job.
Slow Progress
It's not always quick. Today I did a couple of little jobs and I suppose that's the way it's likely to be for a while, at least until we mount the wagon on its wheels, install the draw-gear and finally floor it and plank it.
Axle box dust seals
The new wheel bearings have come back from Bristol Foundry so I could work out the relative positions of the bearing surfaces to the axle box casing and from that the centre-line of the axle itself.
So I measured up the position of the centre of the axle entering the axle box relative to the top edge of the dust seals that I finished last week. I then marked them up ready for drilling out. We'll have to use a tank/pipe cutter as the holes need to be nearly five inches in diameter.
Measuring and marking is a bit scary. Once you cut that's all your chances used up, if it's not right then either adjustments must be possible or it's start again from scratch. I hope I've measured them right. I follow the adage measure twice and cut once, but I've done that before and still got it wrong. The trouble with measuring twice, unless you measure by a different method or route is that you're likely to repeat your errors.
Grease Trays
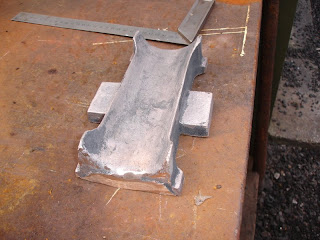
The bearings are held in place by a cast-iron drawer arrangement that carries grease to lubricate the bearing. Once the bearing is installed grease can be added through the lid on the front of the axle-box.
A couple of the grease trays had at some time in the past come into contact with the bearing journal. That must have been the result of a quite catastrophic failure because the bearing itself is bronze and three-quarters-of-an-inch thick! Ollie wanted the bottom faces of the two damaged trays leveled off to prevent a rapid loss of grease - and hence a possible loss of lubrication with damage to the bearing surfaces.
I leveled them off with "Plastic Metal". I had expected to leave them for a while before fettling them off flat but found that within an hour I could work the filler very easily.

Our next target is to get the frame onto its wheels.
Sunny Day
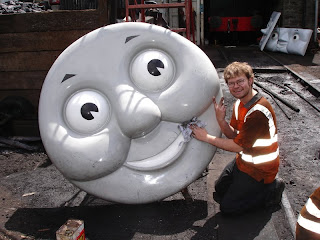
Meanwhile Marcus politely declines to have his photo taken while cleaning the excrable Thomas face ...
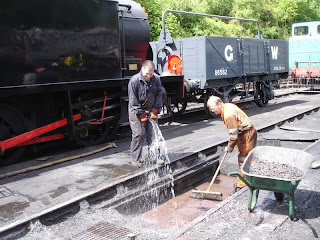
... and Ollie offers assistance to Roger cleaning the wash-out pit.
Last Saturday I did use the horizintal mill to finish off the other two seals.

It was quicker, though still not fast, and more accurate. A more satisfying job.
Slow Progress
It's not always quick. Today I did a couple of little jobs and I suppose that's the way it's likely to be for a while, at least until we mount the wagon on its wheels, install the draw-gear and finally floor it and plank it.
Axle box dust seals
The new wheel bearings have come back from Bristol Foundry so I could work out the relative positions of the bearing surfaces to the axle box casing and from that the centre-line of the axle itself.

So I measured up the position of the centre of the axle entering the axle box relative to the top edge of the dust seals that I finished last week. I then marked them up ready for drilling out. We'll have to use a tank/pipe cutter as the holes need to be nearly five inches in diameter.
Measuring and marking is a bit scary. Once you cut that's all your chances used up, if it's not right then either adjustments must be possible or it's start again from scratch. I hope I've measured them right. I follow the adage measure twice and cut once, but I've done that before and still got it wrong. The trouble with measuring twice, unless you measure by a different method or route is that you're likely to repeat your errors.
Grease Trays
The bearings are held in place by a cast-iron drawer arrangement that carries grease to lubricate the bearing. Once the bearing is installed grease can be added through the lid on the front of the axle-box.
A couple of the grease trays had at some time in the past come into contact with the bearing journal. That must have been the result of a quite catastrophic failure because the bearing itself is bronze and three-quarters-of-an-inch thick! Ollie wanted the bottom faces of the two damaged trays leveled off to prevent a rapid loss of grease - and hence a possible loss of lubrication with damage to the bearing surfaces.
I leveled them off with "Plastic Metal". I had expected to leave them for a while before fettling them off flat but found that within an hour I could work the filler very easily.

Our next target is to get the frame onto its wheels.
Sunny Day
Meanwhile Marcus politely declines to have his photo taken while cleaning the excrable Thomas face ...

... and Ollie offers assistance to Roger cleaning the wash-out pit.


